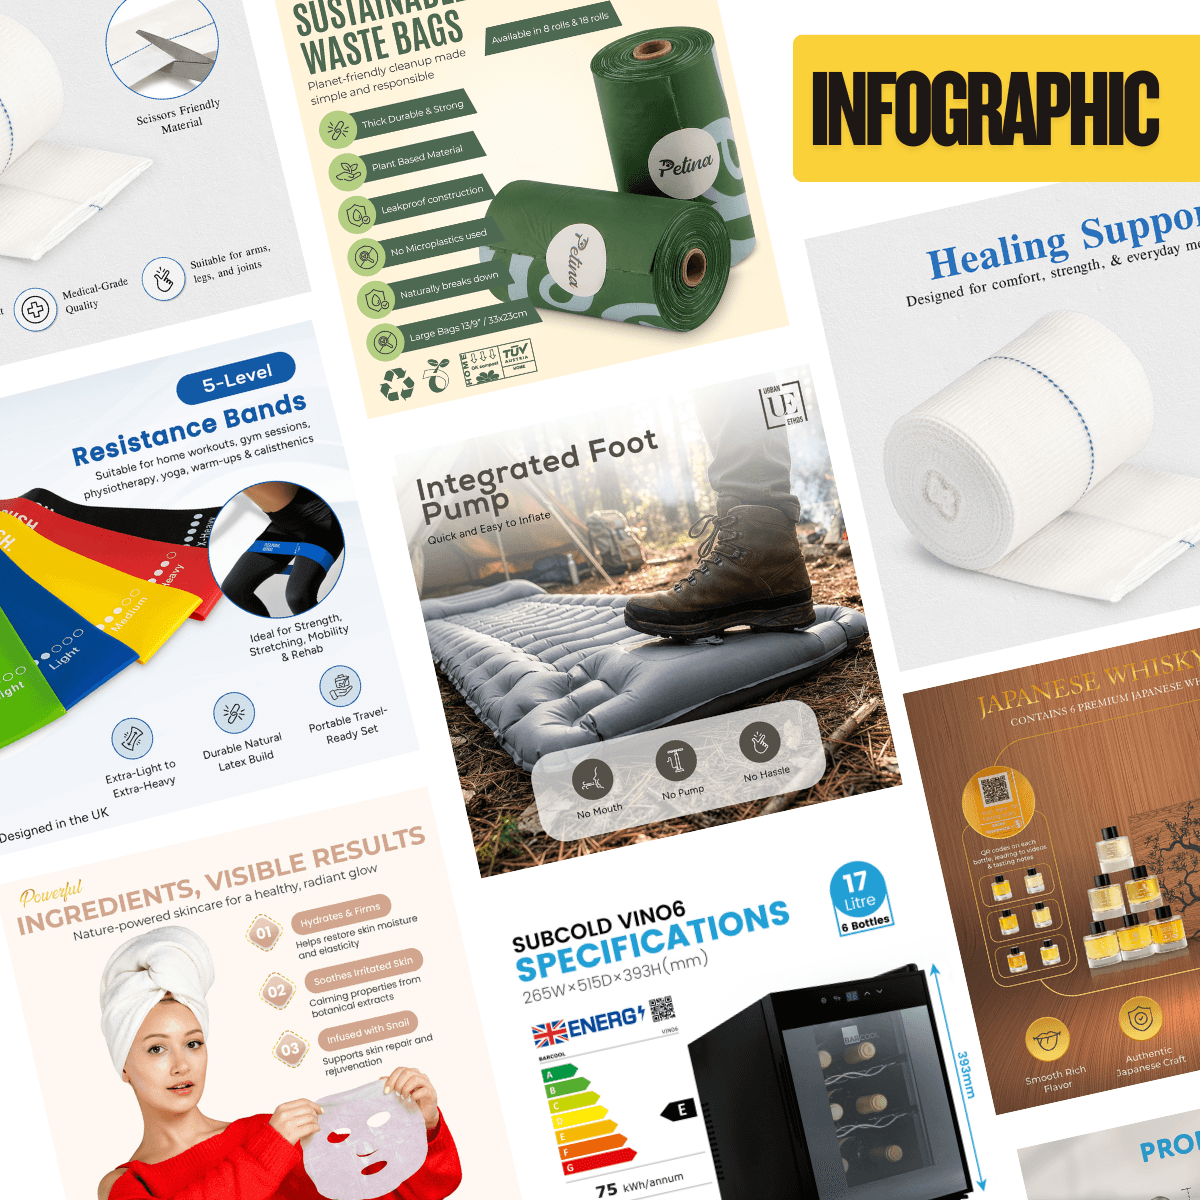
Use this guide to prepare files and review a listing, rather than as a substitute for the requirements shown in your Seller Central account. Amazon’s rules can differ by category, marketplace and content type. Check the relevant upload screen before commissioning a large set.
This September 2026 revision removes earlier claims about new automated enforcement and universal AI-image bans that were not supported by the sources cited. A year in a headline should not turn assumptions into platform rules.
File size and resolution
Amazon’s public photography guide lists a range of 500 to 10,000 pixels on the longest side and accepts JPEG, TIFF, PNG and non-animated GIF. It also expresses a preference for images above 1,000 pixels on each side for zoom. See Amazon’s published guidance and confirm the current requirements for your upload.
For production, keep a larger master and export a crisp file at the dimensions requested. Do not enlarge a small, blurred original just to pass a numeric check. View fine label text, edges and texture in the actual exported file. Pixel dimensions and visible detail are different things.
Prepare the main image separately
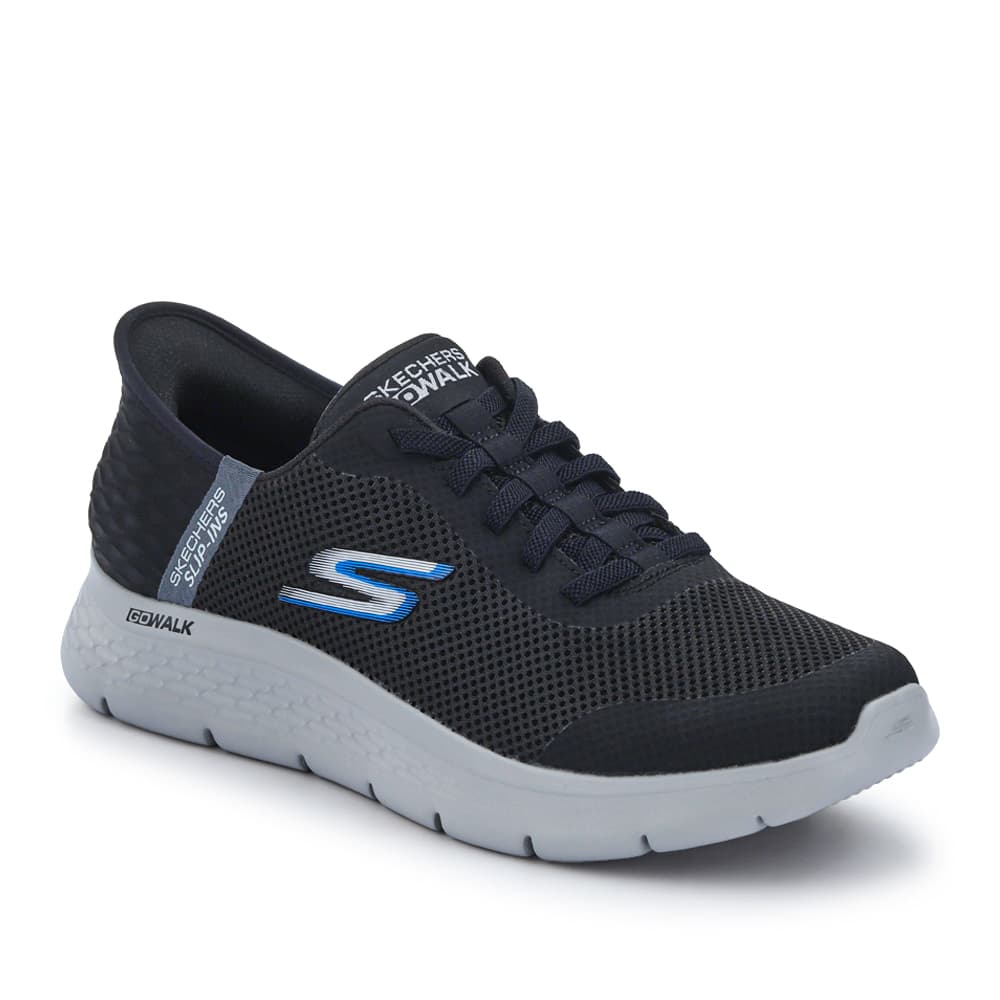
The main image has a different job from a lifestyle or explanatory image. Start with the product presented clearly, without decorative text, promotional badges or styling that could confuse what the customer receives. White-background and product-fill requirements should be checked against the category guidance.
A multipack, bundle and single item must be distinguishable. Use the actual product configuration and current packaging. Do not assume that a rule you saw for clothing applies unchanged to jewellery or a boxed tool kit.
Check supporting images as a set
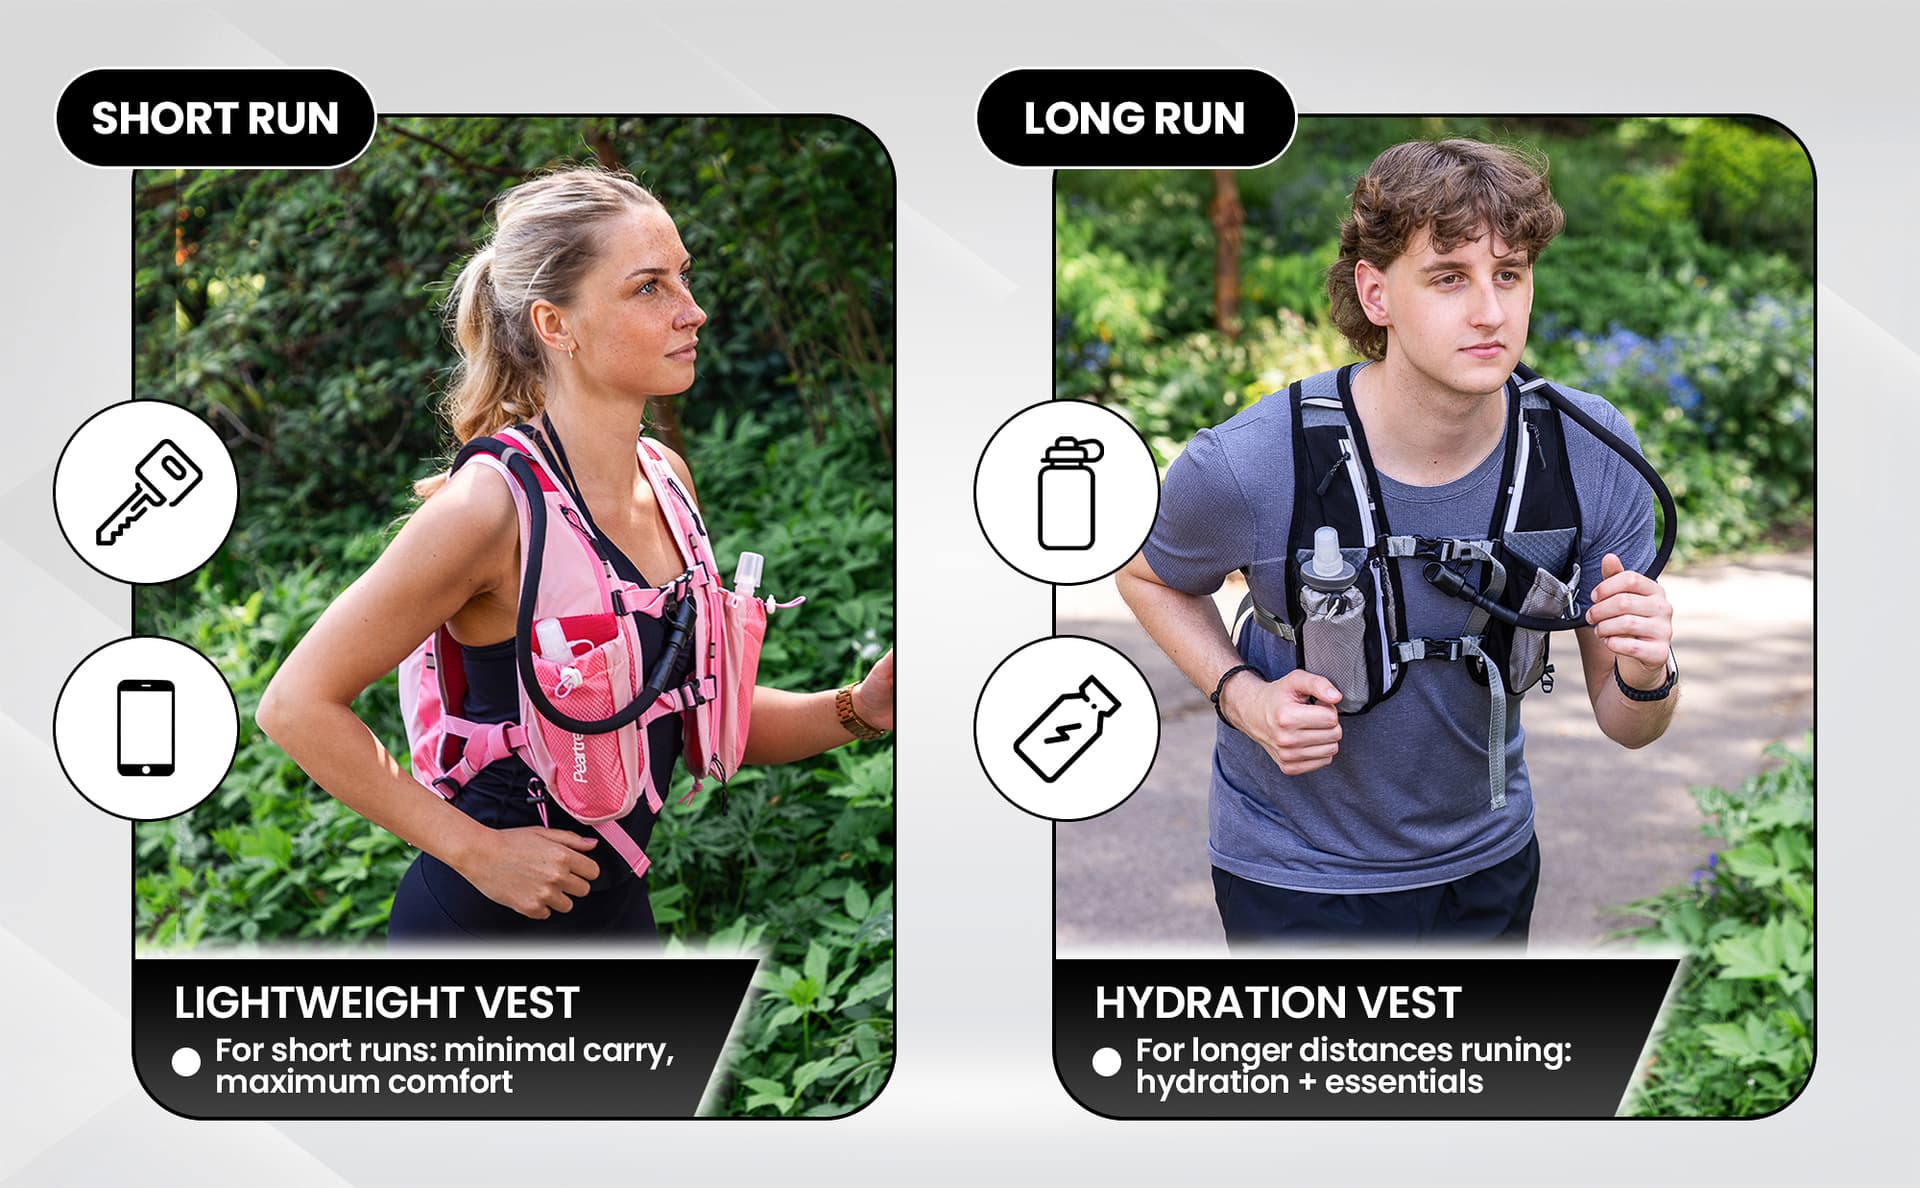
Plan additional views around information: construction, dimensions, supplied parts, use and finish. Graphics should explain a verified fact, not invent a claim. Check that dimension labels agree with the product specification and that any props are clearly contextual.
Review the images in their intended order. A good file can still create confusion if it shows an old colourway or contradicts another view. Our image-role guide helps plan the sequence.
Treat A+ and video as separate deliverables
A+ modules and video have their own upload specifications. Record the selected module’s exact dimensions and limits in the brief. Do not resize every A+ asset to one generic banner size or treat a listing-image export as the final video specification.
Preview the content on mobile. Small text, cropped labels and overly dense diagrams are practical problems even when a file uploads successfully.
Before you publish
Confirm the ASIN and variant, check the finished file against the approved sample, inspect the upload preview and resolve any warnings in Seller Central. Keep approved originals so corrections do not start from compressed downloads.
If an image is rejected, use the stated reason and current Seller Central image guide to investigate. Do not assume AI, resolution or background colour is the cause without evidence. PMP can prepare an image set to an agreed brief, but no studio can promise platform approval or a particular sales result.