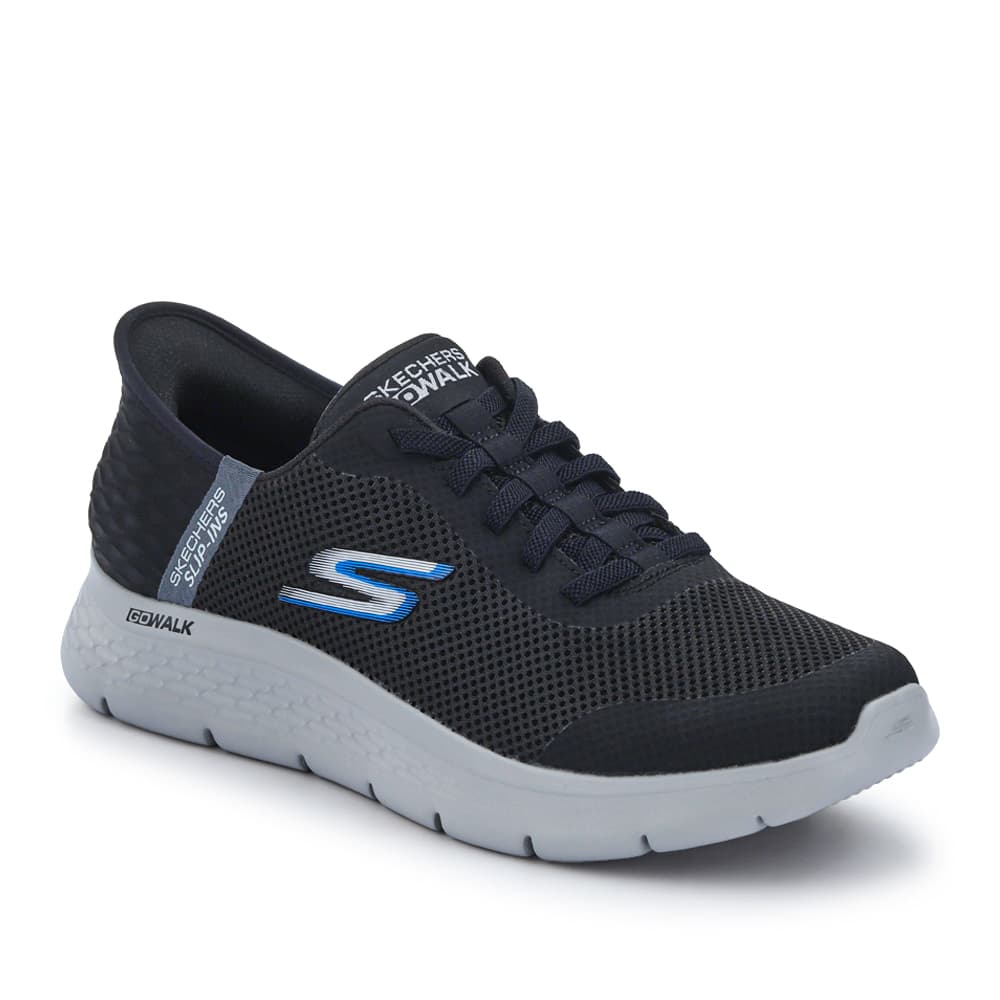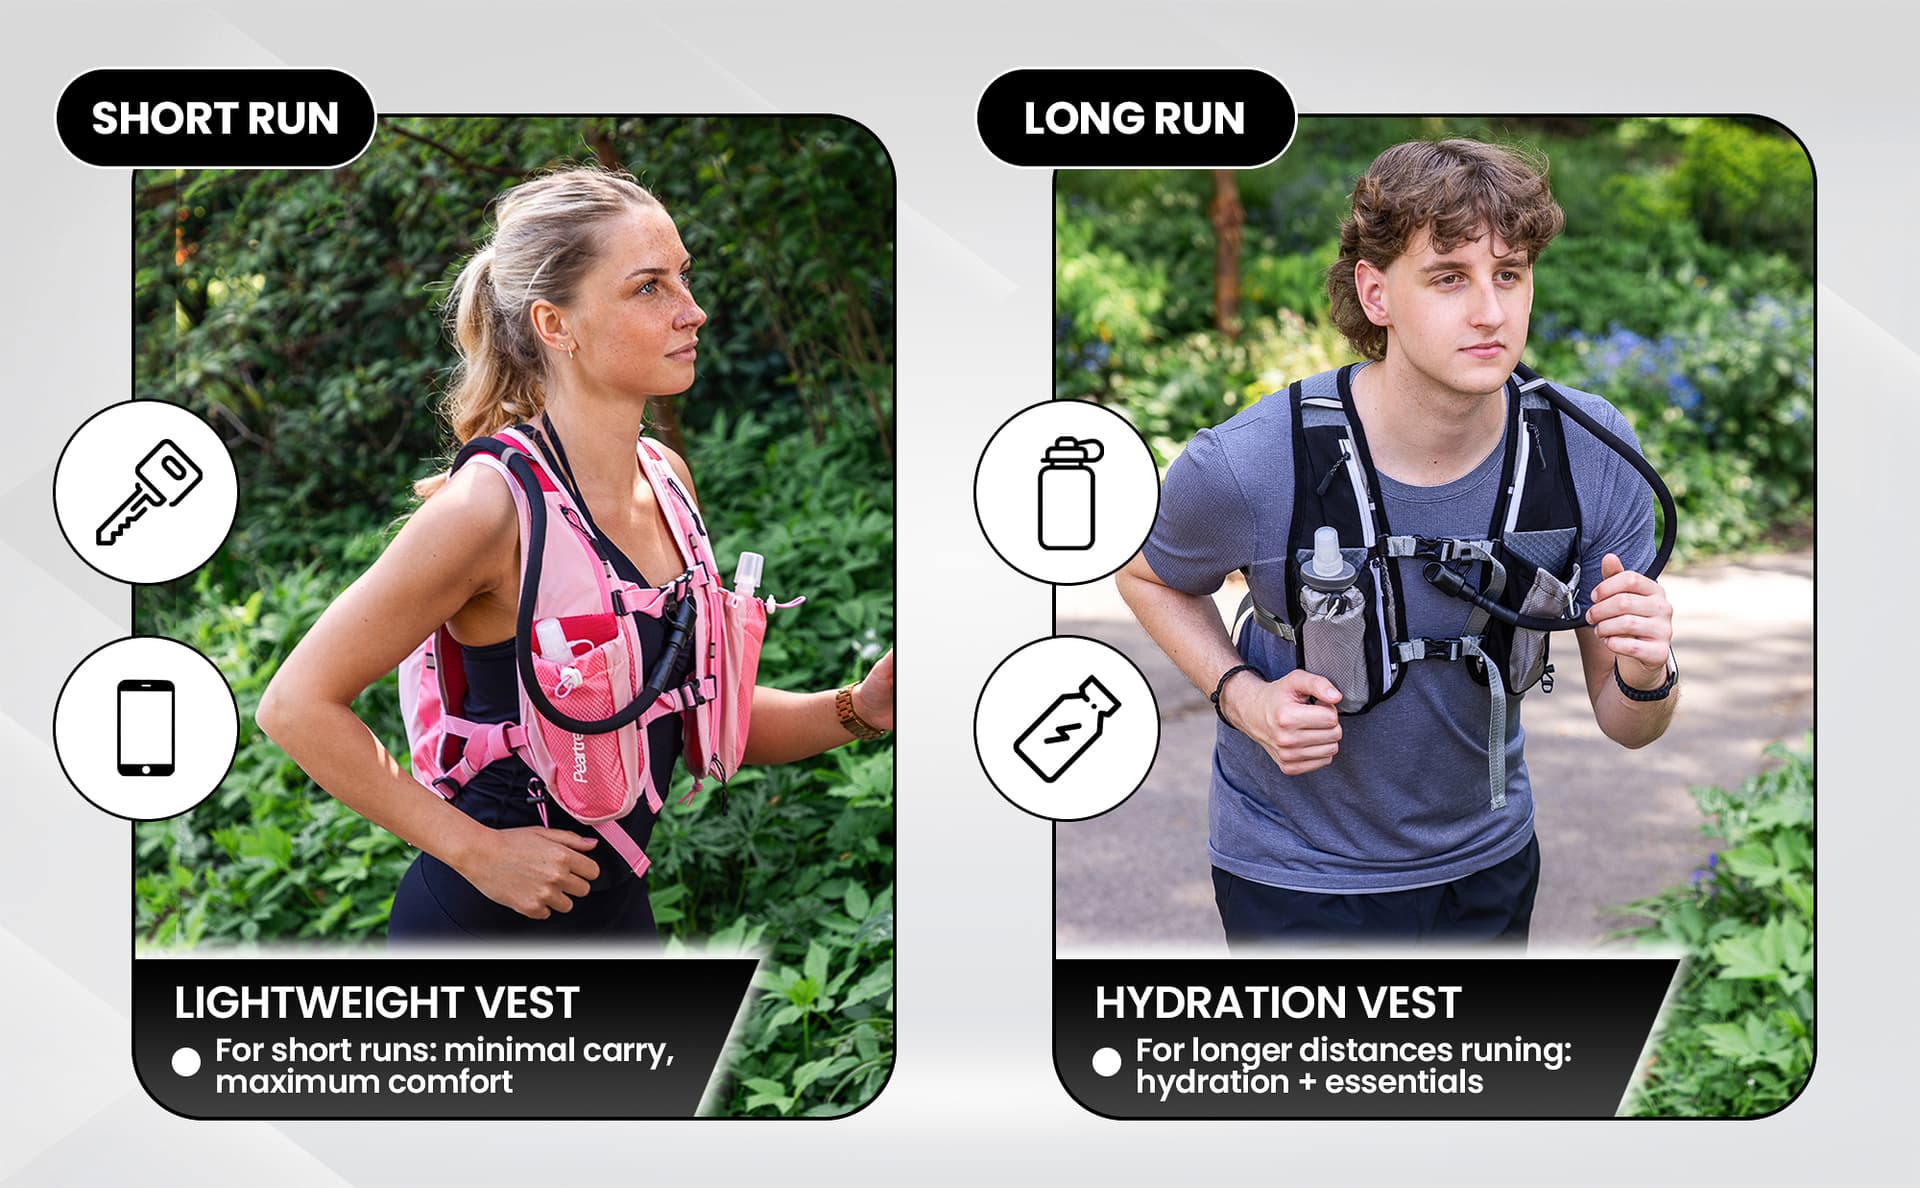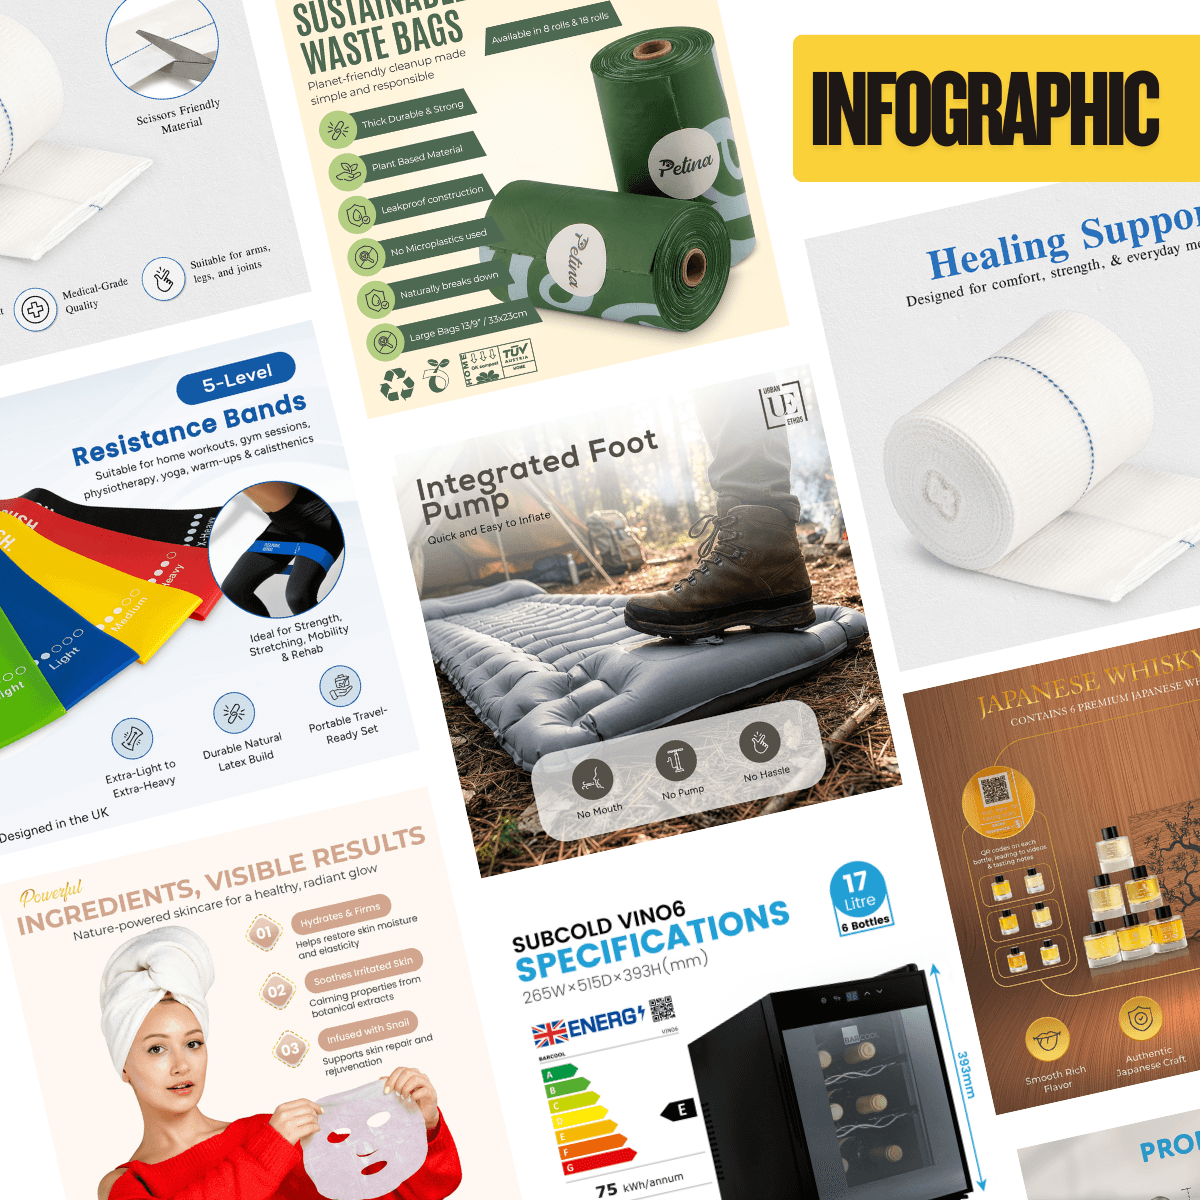
A listing gallery works better when each image adds information. Five slightly different front views may use the available space without helping someone decide. Start with the questions a customer needs answered, then choose the image type that answers each one most clearly.
The order below is a planning approach, not an Amazon rule or a proven universal conversion formula. Adapt it to the product and the information buyers need first.
Recognition: the main image
Make the product identifiable at a glance. Check the angle, supplied quantity and visibility of the most recognisable feature. Review it as a small thumbnail as well as a full-size image.
Keep the category’s main-image requirements in the brief. Save explanatory graphics and styled context for suitable supporting placements rather than adding everything to the opening image.
| Buyer question | Useful image role |
|---|---|
| What is it? | Clear overall product view |
| What is this part like? | Close detail photograph |
| How big is it? | Verified dimensions or appropriate scale view |
| Where does it belong? | Relevant lifestyle context |
| What do I receive? | Accurate contents or kit view |
Understanding: detail and explanatory graphics
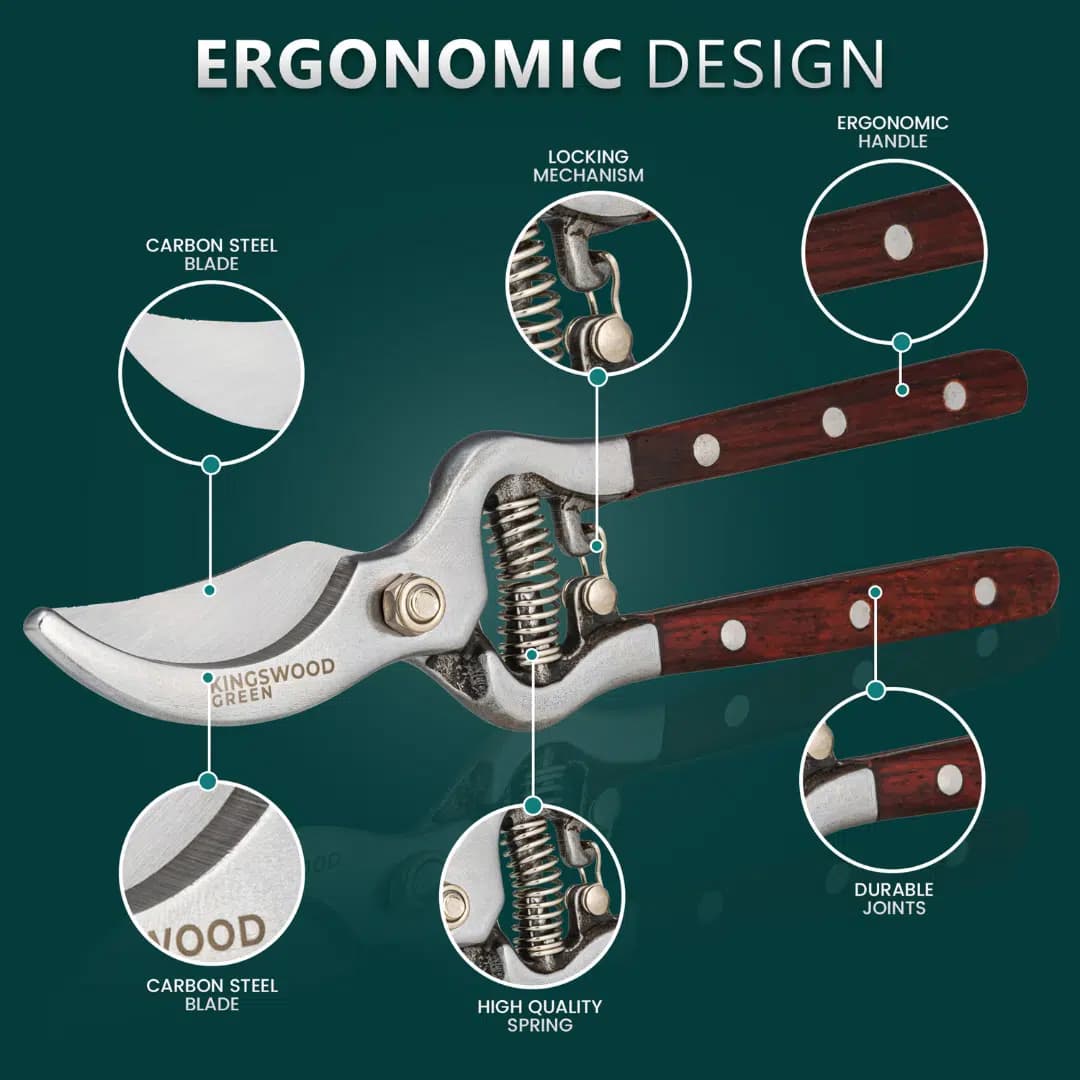
A close photograph can show a zip, texture, connector or finish. An infographic can explain dimensions or identify a part. Use the photograph where seeing is enough, and add text only where it contributes information.
Limit a graphic to a clear point. A dense collection of arrows and claims can make a simple product harder to understand. Verify every number and avoid describing a feature the image does not actually show.
Context: lifestyle and scale
Lifestyle imagery helps show where a product belongs or how it is used. A scale reference should make size easier to judge. The scene must support that task: an attractive but implausible setting introduces doubt.
Photography, compositing and AI can each contribute to supporting imagery. Whatever the method, check proportions, operation, packaging and props. A generated hand holding the wrong part is not a useful demonstration simply because the lighting looks convincing.
Reassurance: contents and practical details
Show the actual kit, packaging or relevant reverse view when these affect the purchase. For a bag, the lining and compartments may matter more than another exterior angle. For a tool, the attachment and supplied parts may deserve an early position.
Do not add a packaging image out of habit. Ask whether it resolves a question about delivery, gifting, storage or contents.
Choose an order, then test it
Write a short label for each candidate image: recognise, understand, judge size, see use, check contents. Remove duplicates and bring the highest-priority unanswered question forward.
Review the resulting gallery on a phone. If readers must zoom every graphic to understand it, simplify. Keep a record of changes and measure them carefully; pricing, reviews and traffic can also affect listing performance. For a first launch, our starter image guide helps decide what to commission first.